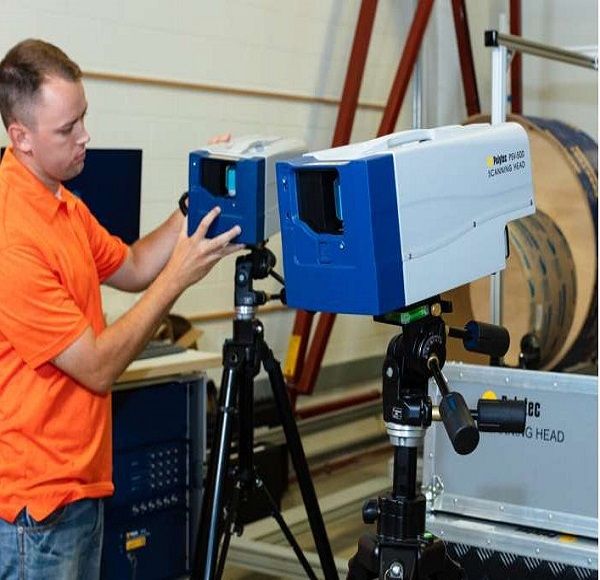
In a storage area on the west end of the Oak Ridge National Laboratory campus is a machine that can measure anything from a jumbo turbine assembly to a tiny centrifuge component—with near-perfect precision.
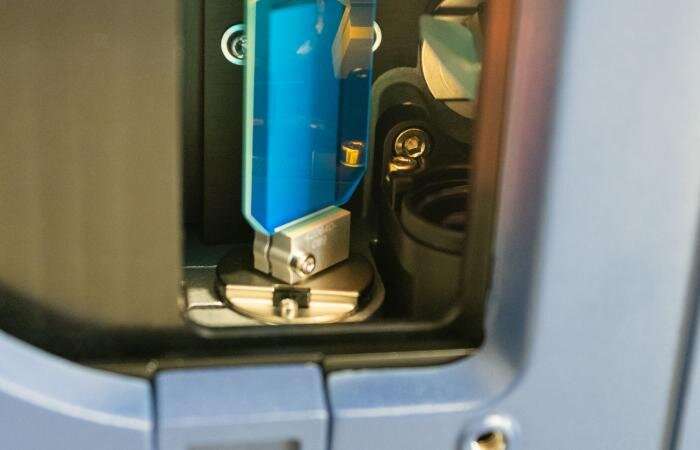
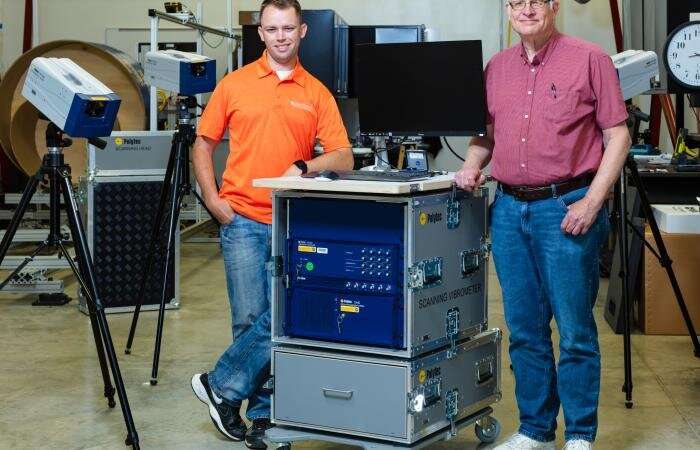
Blake Van Hoy, a researcher in the Enrichment Science and Engineering Division’s Dynamic Testing Group, is the resident expert on the 3D scanning vibrometer, which uses infrared lasers from three heads to build a geometric matrix, scattering light and assessing vibration and acoustics to produce high-fidelity measurements of just about any object—even those that would be hard to measure with other methods.
“It measures down to .00000001 meters per second and up to 12 meters per second,” Van Hoy said. “I get an actual, true, real result.”
This includes objects typically harder to measure. Dark-colored objects. Living matter. Objects that are rotating or otherwise moving. Even things that are underwater or behind glass. The 3D scanning vibrometer can measure it all, with startling accuracy, and without touching the object itself.
In the outside world, laser scanning vibrometers have a host of applications. The automotive industry uses them to test noise, vibration and harshness of vehicles and their components, including brake systems and rotors. Jet engine manufacturers find them useful for validating physical resonances and damping of turbine blades and other components, avoiding premature failure. They’re used by railroads to detect rail defects, by hospitals for medical imaging, and by designers of musical instruments’ strings, to improve sound quality and durability. That vibrating tool your dental hygienist uses to remove plaque from your teeth? There’s a good chance a scanning vibrometer determined the frequency at which it vibrates.
The tool’s current primary purpose at ORNL, however, is in developing precision parts for centrifuges used to enrich isotopes.
“A turbine in a powerhouse is massive; it might rotate at 20-30 hertz, and it has to be balanced and aligned very closely just because of the size,” Van Hoy said. “On the other end of the scale, a centrifuge is very small, very fast, very lightweight, very precise—and they require the same level, or more, of care as far as assembly, symmetry, balance and dynamics. This can do both equally well. The geometric accuracy is phenomenal.”
Van Hoy wrote four proposals for a Lab-owned 3D laser scanning vibrometer before it was funded as plant capital equipment in the 2021 budget.
“If you don’t have the technology in-house that you can offer to solve the problem, you can’t solve the problem,” he said. “This is a long-term investment for the Lab.”
For centrifuge models alone, it’s already saving time and money, he said.
Previously, ESED used button-size sensors to measure vibration frequency and damping—but that required placing multiple accelerometers, each fragile and costing several hundred dollars. Besides being expensive and time-consuming, this method couldn’t account for variables like insulated vs. bare wire, whether a part is bolted or welded or glued, shape, torque and any number of other factors. Still, since it was the best available data, it was used to give estimates to the designers of the parts.
“The laser scanning vibrometer measures all the variables,” Van Hoy said. “Once we take the test data and get the digital model to agree with those results, we have a ‘calibrated’ digital simulation model. We can then make changes in the model and still have confidence in the model when we finally machine the parts. The better we can build them, the faster we can balance them and put them online. Balancing them, if it’s not built right, can take a long time. This improves reliability.”
The device is used a lot to test resonance frequency (the frequency at which an object begins to vibrate most) and damping (the amount vibration energy is reduced) to produce data for the designers building models. Because it’s so accurate, Van Hoy said, “they’re not estimating the boundary conditions and the resonance frequencies of the parts for a system. They’ve got real data to plug into that model and do a simulation to predict how well that part, that component, that subassembly or the entire machine will perform.”
Van Hoy sees a host of other applications for the machine, Lab-wide, when word of its availability gets out. His hope is to soon have dedicated space for the vibrometer—which is portable but time-consuming to set up—and a cadre of apprentices trained in its use, such as mechanical engineer Eric Nolan, who already can use the device without Van Hoy’s guidance.
During a 45-year career in Oak Ridge, Van Hoy has been a vibration troubleshooter at ORNL, Y-12, the former K-25 and, during the era of Lockheed Martin management, the Paducah (Kentucky) Gaseous Diffusion Plant. Though he started in central engineering in 1977, when the three Oak Ridge sites were under one contractor, he had a background in acoustics and noise control from previous jobs and college. In 1980, just one year after laser scanning vibrometry was first developed, he approached his supervisor and suggested he specialize in vibrating acoustics.
“I said, ‘One of these days you’re going to build a piece of equipment that tears itself apart, and you’re not going to know why,'” Van Hoy said. “He said, ‘What do you mean, one of these days?’ I said, ‘Well, you need someone who understands vibration.’ He supported me, sent me to schools and seminars, and bought instruments.”
These days, Van Hoy is recognized as an expert in the field of acoustics vibration, publishing and speaking on his work.
The 3D laser scanning vibrator is the most promising equipment he’s used, he said.
“If you set it up correctly, and you’re in an environmentally controlled space, you’re going to get good answers,” he said. “You can get it down as small as you need to take a measurement. It’s got a lot of possibilities, and it opens up a lot of capabilities for people who are interested in any kind of acoustics or vibration science.”
Source: Techxplore
